Thursday, October 30, 2014

Planning Christmas 2014

My husband the Panda and I have adopted an easy rule to make gift-giving at Christmas easier for both of us, given our limited budget:

- something to wear
- something to read
- something you want
- something you need

Last year I did my best to make what I could, and save money on the things I couldn't.  The 'read' was easy--he has an Amazon wishlist that included Kindle downloads.  No problem, and easy to keep secret.

I also knew that he needed new laces for his work shoes; somehow he managed to fray the ones he had, so that was another cheap purchase.

But then we got into the 'want' and 'wear'.  To be fair, I could have cheaped out and made a 2-for-1, but I'm not that much cheapskate.  I knew he needed a winter hat, so I purchased a pattern to go with the expensive Scottish wool yarn I'd purchased from a little yarn store in North Carolina, and got to work on a flat cap (also known I suppose as a driver's cap).

Yet I wasn't done impressing myself.  I've used freezer paper stencils before, but I was going to take it to a whole new level.  I was deliberately going to rip off a design that had been part of a pre-order bonus for a Bioware game that I hadn't even heard of until it was released as a trilogy.  Even then, when I purchased said trilogy for the Panda for Christmas 2012, I didn't know anything about it.

Any guesses?

If you said:


You'd be correct.

Yes, the hoodie is hand-painted.  No, the Panda is not allowed to wash it without my direct supervision.

But how am I going to top that this year?  

Hmm...

- something to wear:  I have no ideas.  Mayyyyybe a new black belt for work?
- something to read:   Easy.  I have the ever-present Amazon wishlist to guide me.
- something he wants:  He's told me repeatedly that he wants a holster for his handgun.  There's just one problem: I know nothing about guns!  If I take it to the new Cabela's in town, would they be able to tell me which one I need??
- something he needs:  Do they make automatic panda-trimmers?  No?  Hm.  Possibly another pair of pajama pants for winter, since he only has one fluffy pair.

But none of this is handmade!  What to do!  I shall consult Ravelry for ideas...

Wednesday, October 29, 2014

Our Cheaty Overlord, Nebris

New plushie on the Mindcrack scene!

I received an order via DeviantArt from JuneBugPancakes for the very first Nebris plushie:


Looking very dapper in his vest.

Yes, these plushies are big enough to hold their
own in an adult-sized office chair.


Of course, I always try to do a unique pose for each new plushie to put up on Twitter and sometimes Reddit:

Nebris is known for his 'cheatiness'...I decided that
the 'Evil Overlord' motif would work nicely.

I put the photo up on Reddit, and got this reply:


Mini Fangirl Fiesta!

Sorry for the delay; it's obviously been crazy around here!  With any luck, I'll be able to share all of my October and November projects relatively on time.  The list now reads:

1)  Enderman
2)  VintageBeef VI
3)  Red & Black Scarf
4)  Dwarf Beard

And then there's all the art trades I have to start and finish:

1)  Minecraft pillow(s)
2)  Mass Effect coasters
3)  Groot figure
4)  Doctor Who sweatshirt

Which reminds me, I never did show you guys the one art trade I did manage to complete.  Hmm...I'll try to get to work on that!  It really was lovely!  (And nerdy.)

Talk to you soon!


Tuesday, October 28, 2014

Pillow Talk, VintageBeef Style

Funny story.  I used to try and learn one new craft per year.  Past crafts have included:

- iron-on t-shirt images
- hand-sewn teddy bears
- fleece pillows
- jewelry making
- book binding

I still have many supplies in my attic from these past attempts.  When I was having my tunic for cold LARP events made, I went up to get Penelope, my duct tape bust model (who is about 20 lbs smaller than I am now).

For some unknown reason, I decided to rummage around in my other craft supply boxes while I was up there.  (Seriously, the precise reason escapes me.)

And I found four 14" pillow forms from a craft session I had participated in when I worked for the university as a cafeteria hostess.  We had made a throw pillow for each of our student managers as gifts (maybe Christmas gifts?), and then I had offered to take the extras home.

So, three years later, they were still in their shrink-wrapped plastic bags.

And I said to myself...hmm.

Pillow covers are nothing more than two flat panels stitched together at all four edges.

So I did a few measurements, and came up with a double-sized estimation for the first panel:

Since VintageBeef is my most requested plushie
(and I had the yarn handy) I gave it a shot.

When I finished the panel, I noticed it was at least an inch or so short of being tall enough.  (Uh oh!)  I added another row of brown at the top, but I wasn't going to frog the entire panel and try to make it taller.  I decided to wait, do the back, and try it anyway.  Crochet is somewhat stretchy, right?

The back:

Legolas' Elven Focus cannot be interrupted.

And the front of the finished product:


I have no idea whether or not adding one extra row of single crochet at the top of each panel helped at all, but I know that seaming the panels on the outside was a definite good call.  I used slip stitches (3 per corner) on the left, bottom, and right sides before inserting the pillow form.  Then I had to continuously squish the pillow down inside while slip stitching the top shut.  I chose to use the coffee-colored yarn all the way around for the border, because it was the most dominant color.  Plus, using more than one color would have caused structural weaknesses in the seaming--more knots to come unraveled.

Easy peasy!  The pillow is up for sale in my Etsy store!

Ooh, and I also made a tweet:


And the tremendous Mr. Beef himself favorited and replied:


FANGIRL FIESTA!

Of course.

Now I'm pondering the wisdom of dressing up my PauseUnpause plushie in a Halloween costume for "teh lulz" as the kids say, and tweeting the picture out on Friday.  Hmm...must ponder.

Later!

Wednesday, October 22, 2014

Cosplay Commission!

So in this season of pumpkin spice and falling leaves, I finally finished a commission that I've had floating around on my plate for quite a few months.

My fabulous friend Ren from high school caught up with me on Facebook one day, and asked me if I could crochet a wig for her Guild Wars II cosplay outfit.  I believe she wears it to renaissance faires and other gatherings.

The original pattern was from Lion Brand Yarn, (requires login) but the yarn called for has been discontinued.

But I was not fazed!  The specific colors needed for the cosplay was simple: black.

From the images, I gathered the character had dreadlocks or many, many braids:

But in black.

The hardest part of the entire pattern was that the wig base itself came out entirely too small.  I reworked it four times before I could get it to a size that would work for an average adult.

And then in one of my finer moments of genius, I decided that it would be prudent to sew a strand of red yarn into the front of the wig to remember proper braid placement.


Further, I knew that if Ren was going to be able to tie the braids into the knot-like arrangement above, the braids couldn't be too thick, and they needed to be much longer than the pattern called for.

I futzed around for a little bit, and decided that the easiest thing to do in order to achieve both the most coverage (concealing the wig base) and length would be to just chain the braids.  

I think they pass for skinny braids.

Also, I further concluded that if I was going to make the braids look like hair, then the ones at the base of the neck would be shorter than the ones at the crown of the head.  (I was going for even layers.  I have no idea if I actually succeeded.)

The finished product:

Nice and thick for a ponytail.

I'm hoping Ren will send me pictures next year, when the festivals are open again and she does her costume.

But until then, I believe I have a dwarf beard, a lattice scarf, a VintageBeef, and an enderman to work on!

(Oh, and I have a post about the Nebris plushie coming soon; I just need to get some information off of Reddit, which I can only view from home!)

Tuesday, October 14, 2014

The Posey Collection

So not exactly in chronological order, but...
My coworker Doris sent me a listing from Amazon a few weeks ago; a vendor based out of China was selling children's hats.  Doris then commissioned the following:

For her granddaughters and herself.

I named it the Posey Collection based on the flowers.  I suspect that she wants to have photos done with matching outfits.


Three sizes of hats, a headband, and a poncho.

I secretly believe that the pattern I followed for the hats was a little incorrect; the first hat I made for the two-year-old was big enough for me.  So I made a second one from the 18-month size:

I hope that it works out!

The patterns I used were:

Easy Ponchos by Bernat
Newsboy Cap by JT Creations (I excluded the brim and did a little stylized stitching)
Headband by ChirpinBirdie
Crochet Rose by Kati Crafts  (For the larger flowers)
Rosebud and Leaf by Kara Gunza  (Smaller flowers)
Two-Minute Leaf by Jessica Zeltner  (These were leftover from a yarn use-up!)


Pretty cute; I can't wait to see pictures of the kids!

Plus, it's nice to have other projects to break up all the plushie madness.  MADNESS, I say!

Until next time...

Thursday, October 2, 2014

Your Introduction to Letterboxing!

Special Announcement:  I love to letterbox!

And now that you're all looking at me like I'm crazy...

Letterboxing is sort of like geocaching, but without the technical expertise of being able to use a GPS.  I started letterboxing with my mom last year in November.

Not ringing a bell?  

Okay, letterboxing is real world treasure hunting, using unique stamps and logbooks to track your finds.

How to Start Letterboxing

It starts out on AtlasQuest.com or LBNA.com.  These places house a database full of clues you can print out according to a multitude of search criteria.  Creating a "trailname" (your username) is completely free.

Yes, my personal AtlasQuest theme is from 'Talk Like A Pirate Day'.

Up in the Location-Based Search, put in your postal code and start searching for hidden boxes near you!

Fun Fact!
The first letterbox ever created
is in Dartmoor, England.


From there, sort through your results.  For first-time finders, I recommend checking the dates the boxes were last found, and that the boxes are marked active.  We'd hate for  you to go on a quest where the prize has been stolen by a bear or little kids with sticky fingers.

The symbols next to the name of the letterbox indicate attributes.
A car means that it's a drive-by--no hiking required.
A hand means that the stamp is hand-carved--usually the best type!


What to Bring Letterboxing

  1. You!
  2. Your clues.  I recommend enough copies for everyone in your party.
  3. A logbook.  A blank artist sketchbook is best; they're unlined.
  4. A stamp pad.  Take a 40% off coupon to Michael's, A.C. Moore, or Hobby Lobby.  And don't get the cheapest ink pad, either--it won't last.  
  5. (Optional) A hand-carved signature stamp of your very own.
A what now?

A signature stamp is a stamp you use to "sign" in the logbooks left inside letterboxes.  Most letterboxers ('boxers) make it something to do with their chosen trailname.

My trailname is VelvetKey.  My signature stamp:

This was my very first stamp carve.

Don't worry if you don't want to carve your own or even buy a store-bought stamp.  The most basic form of 'stamping in' to a logbook is to use your fingerprint and perhaps embellish it.

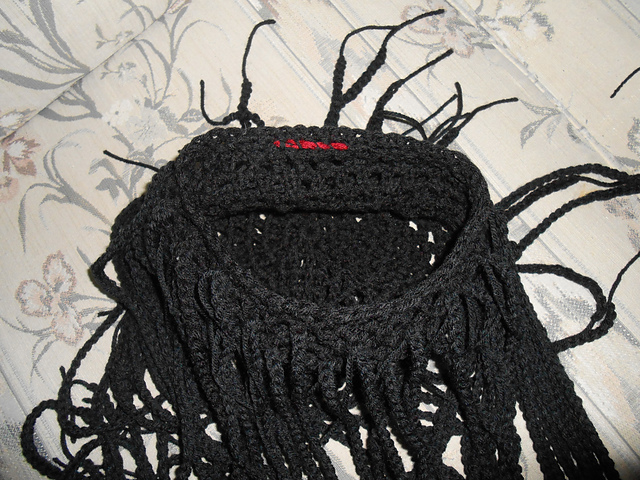
So you have your supplies:

This is my second stamp pad and second logbook.
I filled my first logbook up at the Paris Mountain Letterboxing Event!


It's time to set out on your letterboxing adventure!

Now, I am assuming your clues require no extra equipment, such as a compass.  (The need for a compass should be indicated by those symbols next to the name of the letterbox, but not always.)

And if you're embarking on a longer hike, of course take into account water bottles, snacks, etc.

The wonderful thing about letterboxing is that it can take you to places in your town/city/state you've never heard of, that others have found interesting.

My mother and I went out to a place called Hagood Mill, thirty minutes from my house.  It's a historical farm where Indian petroglyphs were discovered.  I would never have known this place was there!


This is the back of the mill, which I saw
when I was hunting for Box #1 in this series of 4.

There's a letterbox hidden in this picture!

Finding A Box

Boxes are supposed to be hidden well, where the prying eyes and sticky hands of Muggles can't easily find them.  This means that frequently you might need to leave the path, and reach your hand into places all the while hoping a snake isn't sharing space with what you seek.

But huzzah when you finally find it!


This letterbox was #4 in the aforementioned series.
The stamp was concealed inside a felt pouch, and
the logbook was inside a zippered baggie.

Get out your own logbook and stamp pad, and get to it!  It's always cautioned that you try to "stamp in" before others see you (the Muggles I mentioned before).  Non-boxing folk are sometimes too nosy for their own good, and it's another way that boxes can go missing.


This is my mom, Sherercrew, stamping the Petroglyph
stamp into her own logbook.  On the opposite page
are some of the other stamps we had already found.

Sometimes, if you're the first finder on a new letterbox, the "planter" (the letterboxer who created and hid the new box) will include a 'First Finder's' prize!  My mom claimed the one we found in Petroglyph:

She keeps hers taped inside the pages of her logbook
near the stamp she collected the prize from.

Next, stamp your own signature stamp into the logbook you found inside the letterbox, and you're done!  Some people write their trailname out, along with the city they're from, and the date, so the owner of the box can see how many different adventurers have come along in search of their treasure.

Now, to rehide what you found.

One of the most crucial parts of ensuring a letterbox's longevity is making sure you reseal all the baggies and pouches you find inside.  Water is the number one thing you will find inside boxes, due to condensation, rainfall, and sometimes flooding.

Also, make sure you put the box back exactly where you found it, including any objects that may have been piled on top, such as sticks, bark, or stones.

And who knows?  Now you may want to carve and hide letterboxes of your very own:


These are Mainstay brand four-tab food containers
from Wal*Mart; they come in a 16-piece pack.

Cover well with disguising paint or duct tape.


Most large craft stores sell the gouge tools and
pink rubber for carving stamps.


Using Google images to search for stencils cuts down
on the guesswork of what to carve and not carve in a pattern.

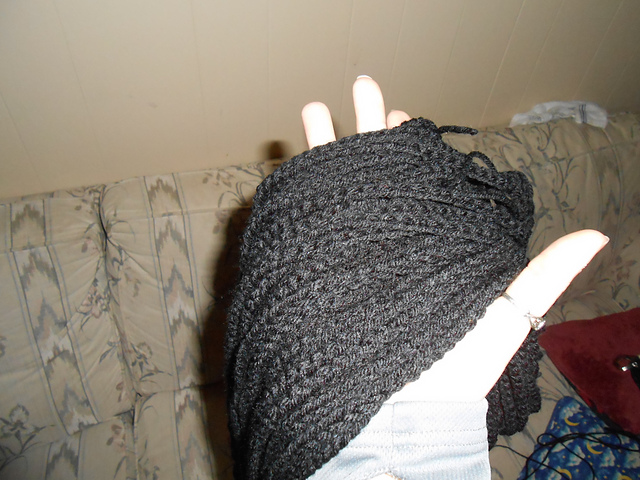
(This is my mom's personal traveler.

When you meet other letterboxers on the trail,
you can do 'exchanges'--stamping your signature
stamp in each others' logbooks.  And sometimes,
they'll have additional stamps with clues to how to
obtain the stamp.  Common clues include "ask me 
about ____" or "tell me your favorite _____".)

If you've found this brief tutorial to be helpful, I encourage you to give AtlasQuest a visit, and see what treasures may be hiding in your hometown!

See you on the trails!